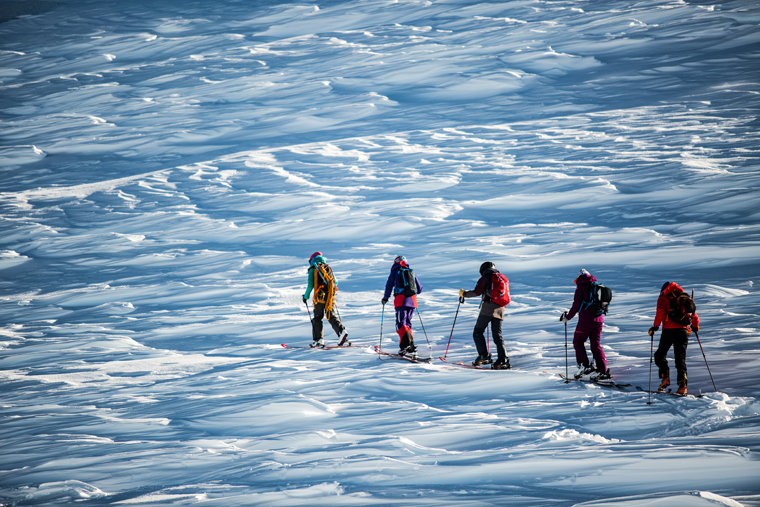
How to pick the perfect gear for a backcountry adventure


When stepping up to touring from resort skiing, there are a few things you need to know gear-wise. Most of your existing backcountry-from-resort kit will do the trick. The key is making sure you have gear for all weather and conditions; this time you could be setting off for a week, not just a day, and in that week you could be sweating across glaciers in the midday sun, shivering up windswept ridges before dawn, and togged up in a blizzard.
When it comes to carrying a layering system to wrap up for the coldest of climes, and strip off when it gets hot, there are three key things to consider: light weight, versatility and a big enough pack to get it all in.
The secret to going light is all about knowing which bits to scrimp on. Skiing’s generally a soft snowy sort of sport, so hard-wearing fabrics can be replaced by the latest in lightweight materials. The only exception to this is for ski-mountaineering and expeditions, when your clothing will have to contend with some seriously abrasive rocky action. So we’re talking light and comfy softshell garments over baselayers; with über-lightweight, functionally-cut shell layers over the top in the worst weather. Gloves are one area not to save on.
Axes and shovels need to be fit for purpose, whatever the penalty may be in weight. My general rule of thumb for all tools is to go for heavy blades and light shafts. Then you’ll save what weight you can, but carry something that works. The same goes for crampons. I always carry some super-light alloy Petzl crampons at the very least, and always make sure I have a pair that is up to the job. So if we’re scrambling up rocky ridges, or climbing technical ice, then a technical steel crampon is the order of the day. Thankfully, both Grivel and Petzl now make some awesome hybrid models, with a steel business end and an alloy heel. Perfect!
“Go for the boots with the nicest fit for your foot shape, and get a good fitter to take care of the rest” |Courtesy of AtomicFor many items, we’re going to have to choose the best ‘one size fits all’ compromise. A great example of this are your skis, and your choice of ski width. While you might be happy on 70mm underfoot on-piste, but beg for 120mm on a powder day, you’re going to set off touring with a single ski. The competition seems to have landed at about 95mm underfoot, with all of the serious brands having a contender for the ski touring quiver-of-one.
Another example here are boots. Boots are always a tricky choice, as so much of the decision comes down to fit and
the shape of the last. Thankfully, with modern materials an experienced boot fitter can get round most issues to find
the ideal shell and ensure the perfect fit, whatever the range. So this is one area where thou shalt not be rewarded for ordering online!
The most important thing is to consider how much uphill to downhill action you are honestly expecting, then choose
a boot accordingly. Sure, you can save a few grams on the latest ski-mo racing welly, but if you just end up cursing
every turn when you should be whooping it up you made the wrong call.
If in doubt, I would err towards a beefier boot and take a tiny bit more weight on the chin. But then I am a chubby mountain guide, with big legs and usually a bigger rucksack than most – so a few extra grams never hurt. Call it training…
Once you’ve selected the style of boot, then be assured that almost all the manufacturers will have a boot in their range
to do the job. Just get trying them out. Go for the boots with the nicest fit for your foot shape, and get a good fitter to take care of the rest.
There is an old adage that the bigger the pack, the more you will carry. But I like to think I have the discipline these days to take a bit of extra room for comfort, without being tempted to take a bit of extra kit to fill it!
Nowadays I’d far rather take what I need and have a bit more space: when the chips are down in the blizzard it’s nice to just stuff the skins away and get moving!
For glaciated day tours I advise clients should go with no less than 20L, with 30L being perfect. For multi-day trips and hut-to-hut tours then go no less than 30L, with the ideal range between 35 and 45L depending on your packing skills (and whether you are the one carrying the rope).
Remember, choose wisely and you can make a big back smaller with good compression straps, but you can’t make a small pack bigger.
Find a simple kit list for all your skiing adventures in the back of Bruce Goodlad’s excellent book Ski Touring (Pesda Press Books, £16.99), or at martinchester.co.uk/ski/kit-list