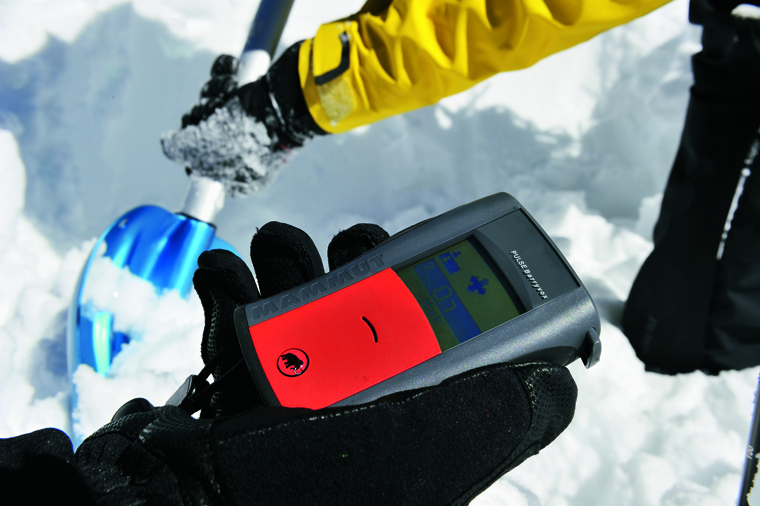
How to nail a transceiver search


So here’s where we switch off the cheeky banter for a moment and get heavy on you: carrying all that kit (transceiver, shovel, probe) without the skills to use them is fuzzy logic to be kind, and plain dumb to be honest. When your best ski buddy is buried deep and breathing their last, you are going to spend the rest of your life wishing you’d spent more time practising.
There are five stages of companion rescue: find a signal; zoom in on a course search; pin-point search on the surface; probing; and digging/extraction. Back in the day, I used to practise just the easy two (I wanted to be skiing, not arsing around with yet more technology in my life): a hasty search for a transceiver that was already in range, and probably on (or near) the surface of the snow. Sound familiar? Well, it wasn’t long before I realised that this is nothing like enough to prepare you for the real thing. So we’re going to explore a few exercises to help you get to grips with what’s what.
a) Antenna length = signal strength. So what? Well, you might have three fancy aerials in that swanky digital unit, but only one of them is a long one. This means you won’t go straight for your mate in a straight line until you get close enough for the next (shorter) aerial to kick in. Learn not to expect to head in a straight line, and you won’t get freaked when it all goes bendy.
b) Orientation and alignment matter. We often refer to this as ‘coupling’. Two units in the same orientation (the same way round) will give you a stronger signal than two units at 90° to each other. We’ll play with that later…
c) The upshot of this is you have to learn not to change both position and orientation at once – or you won’t know which has had the impact. We teach folks to search with a transceiver like landing a plane: fly as fast and as high as you like to begin with; zoom in on the signal and the coupling will line you up with the runway. As you get closer, get slower and lower as you come in to land; keep the unit lined up with the runway (facing the same way) from now on as you gently come in to land.
Time to get practising. First up, a couple of pub games, so we can get better at all this without missing out on VST (Valuable Skiing Time) as it’s known in our house.
Exploring that ‘orientation coupling’ thing1. Place a grid of bowls upside down on the floor. The aim of the game is to fine-tune your pin-point search to work out which bowl is hiding the transceiver. This game is ideal for bad weather days or evenings when you’re bunked down in your hut or hotel.
2. To begin with, let folks experiment and get as close as they like. Have a go at changing the orientation of the transceiver when you get close, and you’ll see what a bad idea that is.
3. To spice things up, start adding limitations to make sure the searcher is not allowed to: bend down; go below the waist; go below chin height with their transceiver. Add another transceiver under the bowls (now searching for two at least). If you have a mix of old and new transceivers you’ll see the difference, and your mate’s crap old analogue unit will be in the bin in a jiffy! Still keen for more? Play against the clock for beer.
4. If you still want to learn more about orientation, hold or hide a transmitting transceiver behind your back or under a table. The searcher can then play with changing the direction of their unit until they get the best signal, and guess the orientation. If this seems crazy, then understand that the transceiver you will be searching for is likely to be 1.5m under the surface – so learning how to get the best signal (and keep it as you move the transceiver) is a good thing.
1. Place a transceiver somewhere visible (on top of a rucksack or work in pairs). Start with it at 90°. Point straight at it, walk away until the signal disappears, then turn your transceiver. See what happens to the signal and distance reading.
2. For optimal learning, place the transceiver out of range, at 45° to the searcher. Why 45°? Well, straight on = so what? As you’ll go directly there in a straight line. Place the unit at 90° and your searcher will go off on a random curve (left or right will give equal signal) and this will take them way out wide.
3. If you’re trying this on the hill, then exercise 2 works even better on a concave slope so you can see the track left by the searcher in the snow, and understand that you will get there – but on a curve.
1. Getting real: bury a transceiver in a pack, out of range. Be realistic and bury it so folks have to pin-point and probe. Be kind to start with by using the 45° trick.
Practise a deep burial search to really test your mettle
2. Full monty: this is now a full team event that requires the formulation of a plan and teamwork to pull it off. Take the transceiver well out of range, so the team are searching for a buried pack, ideally 1m deep (at least) and ideally on a slope. Getting good now? Bury two or more.
3. Finally, review how it all went. Make a plan and play to your strengths.
As for probing and shovelling, buy Bruce Goodlad’s book Ski Touring (Pesda Press Books, £16.99) for plenty more info. And check out the ‘How to search for a companion’ skills piece we ran last winter.